Expert tips for building your dream home.
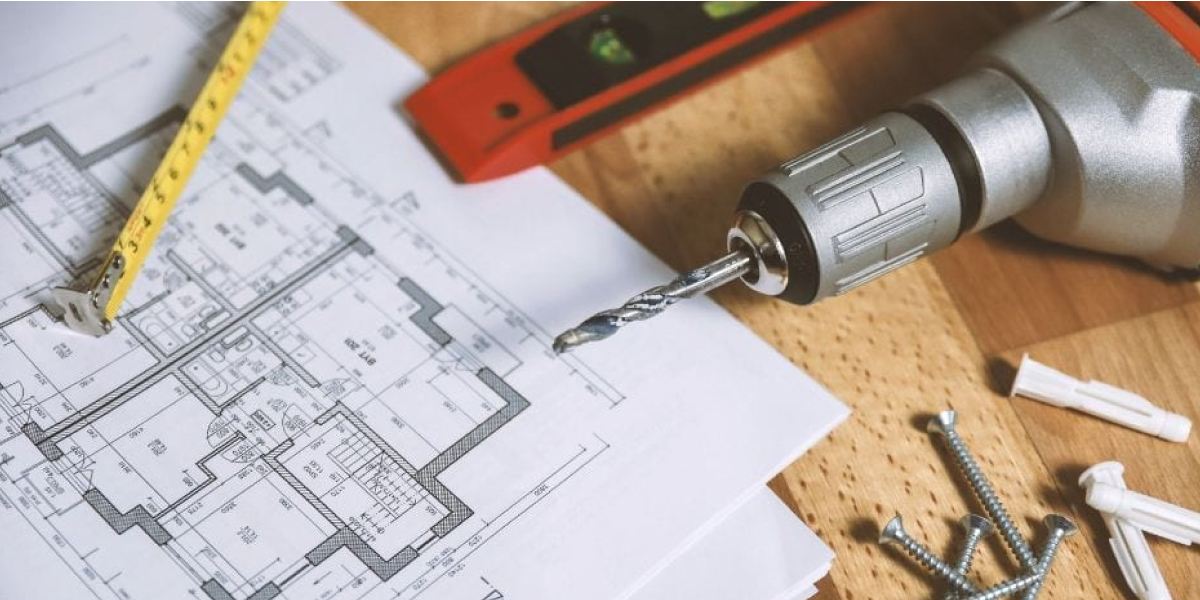
Before you get to the design and aesthetics stage of building your home, consider many things. Understanding what you should be paying attention to will ensure you have a quality structure for years. We'll explore what points to consider before you buy a plot, how to check on the quality of the build, the construction at different stages, and materials that give you the strongest structure.
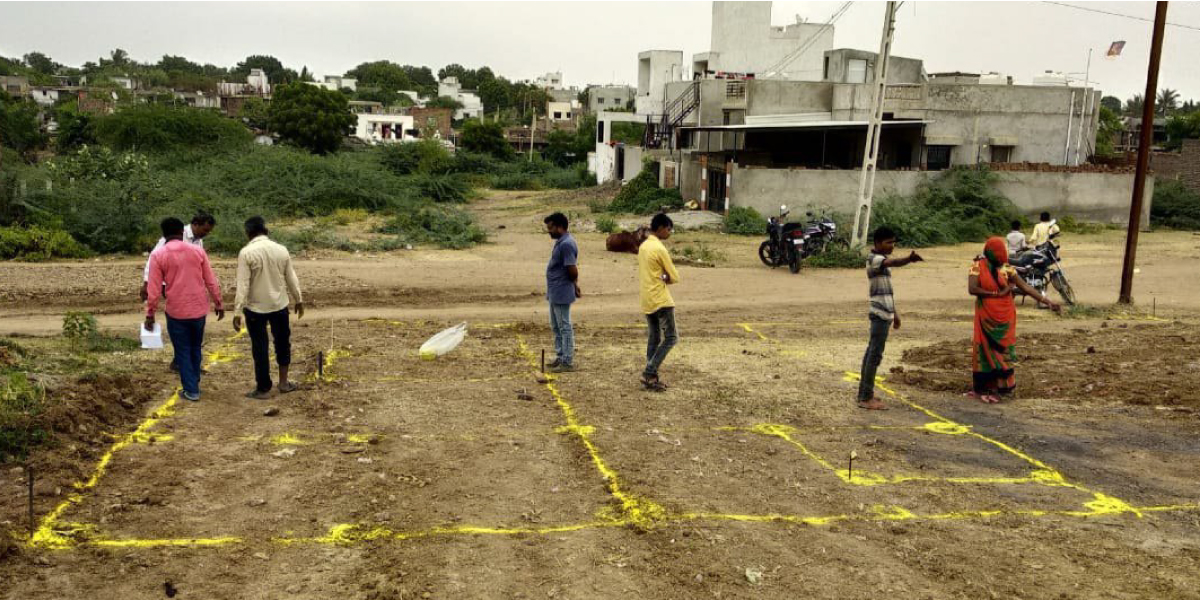
The Plot - Choosing the right kind of plot can make all the difference to the final structure of your home. For example, look for properties with trees along the Southside. Trees provide a natural barrier to the sun's harsh rays and leave the North open to light and breeze. It helps in cooling and ventilation later on.
Another thing to look for is flat terrain with hard strata or top layers. Avoiding contoured or uneven terrain can be an excellent place to start and cut your construction costs. When it comes to the shape of the plot, a squarish plot gives you the most flexibility and allows you to have a more significant front facade. Plots with right angles will enable you to use the entire space more efficiently and avoid losing precious square footage to non-habitable corner spaces.
Now that you know what to look for inside a plot let's look at the surrounding areas. Having a minimum 9-meter approach road provides plenty of parking area and makes your home more approachable. Before you settle on a plot, spend time checking with local municipal authorities about any planned road acquisitions and pending town planning proposals. Finally, avoid buying properties that are too close to high tension wires or transformers. These are hazardous, especially while moving materials during construction.
The Foundation - A structure's strength lies in its foundation. Foundations allow the structure to transfer its load to firm soil or rock layers that can support them. Consult a qualified engineer to determine the type and depth of foundations required for some particular soil strata.Conducting random trial pits is, therefore, vital to assess the quality of the soil. Skipping this step might mean your foundations are not deep enough or placed on loose dirt, both of which can be dangerous in the long run.
The Plinth - The plinth separates the structure above and below the ground. Designed to carry the weight of all the material on top of it, plinths act as a retaining structure for compacted soil-filled from the foundation. The ideal height of the plinth should be above the adjacent road level to prevent rainwater from entering the house. This makes waterproofing important, as capillary action can cause cracks, uneven flooring, and loose tiles later.
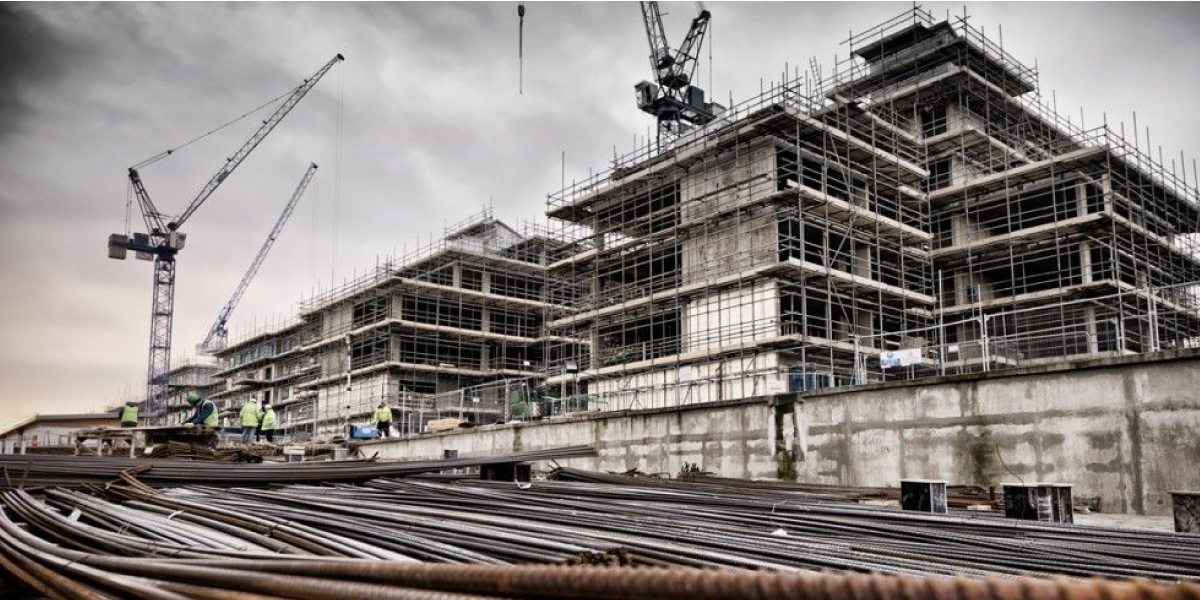
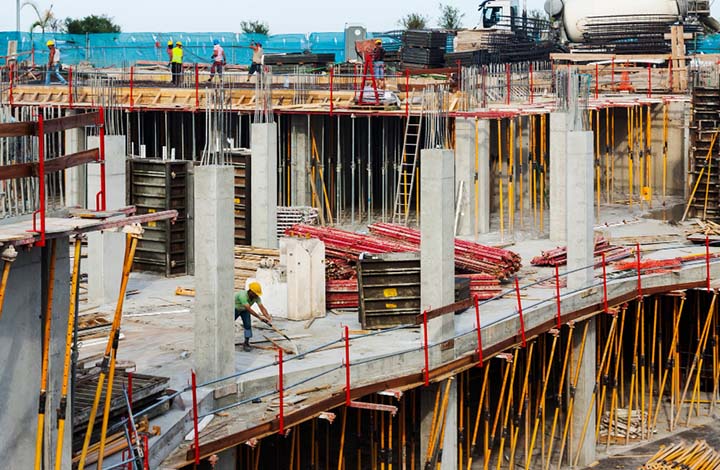
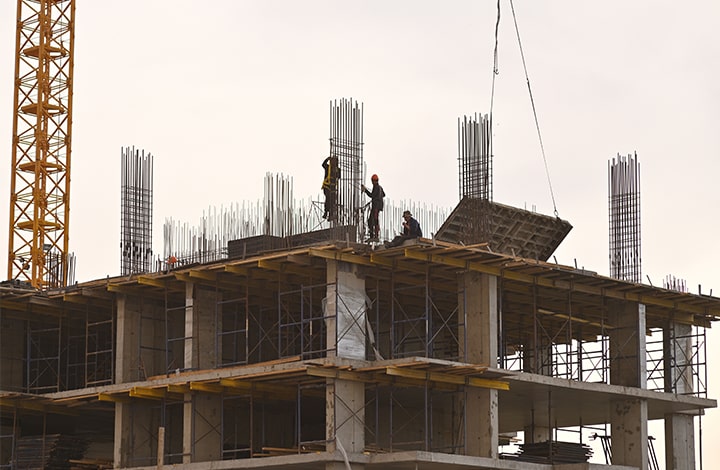
The Column - The main job of columns is to provide structural support and evenly distribute the weight of your structure. This is why you should double-check the layout and centre, the reinforcement, shuttering, and concrete properly. Ensuring that columns are aligned and cast 'true to plumb' will help distribute the weight of your building evenly and avoid cracks. Damage to even a single column will affect the safety of the structure. So, once a column is cast, you should have no reason to fix it.
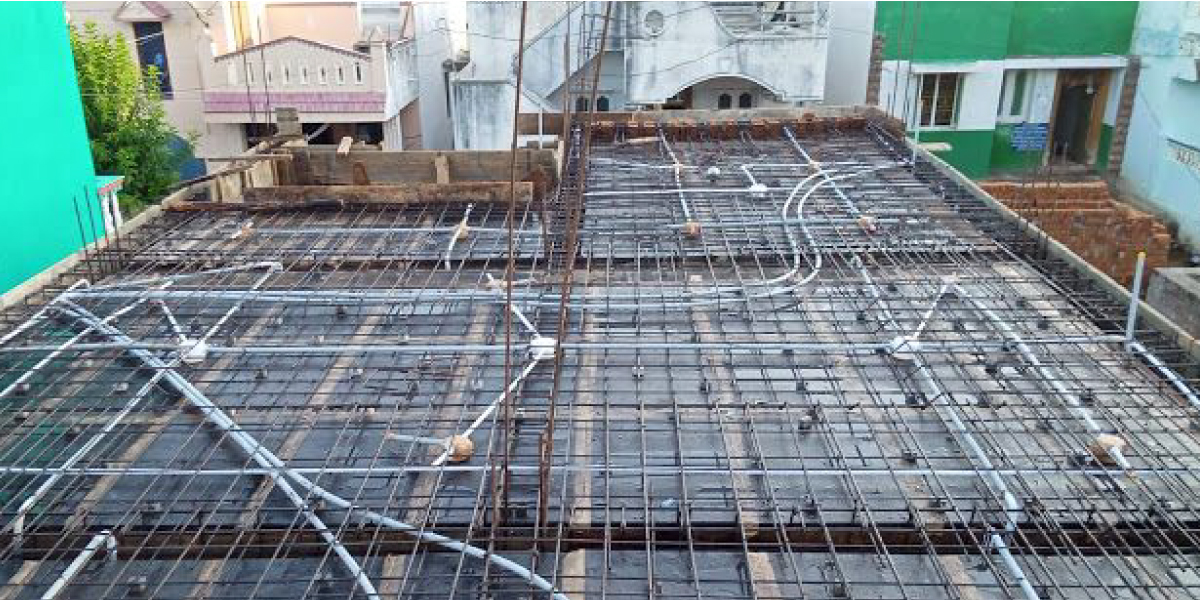
The Beam - Beams transfer loads along their length to the endpoints: walls, columns, foundations, and more. While several types of beams are used in construction, there are some common things to watch for when building. Beams need to be in an absolutely horizontal position and should have no 'sag'. The steel bars that connect the columns to beams and the slab to beams should have proper overlaps and anchorage. Double-check that the beams have been cast to lintel level in areas that receive heavy rainfall to keep rainwater from entering into the home.
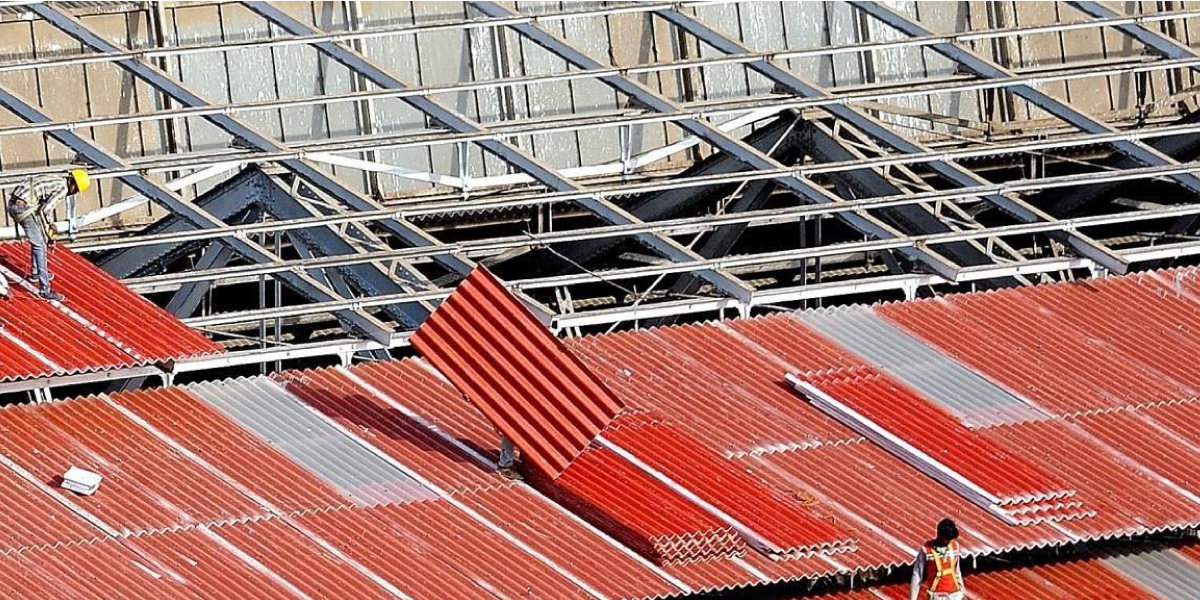
The Slab - Pay attention while constructing the slab to ensure you get a long-lasting surface and requires little maintenance. Start by removing vegetation, soft soil, and rocks so that the slab is uniformly supported. While casting, use a gauge to ensure a consistent thickness throughout the slab and waterproof areas for toilets thoroughly.
The Walls - Strong bricks build strong walls. Avoid continuous vertical joints and ensure staggering the joints to avoid cracks. A professional contractor should conduct several tests to verify the quality of bricks before beginning. These include striking two bricks together to get a bell sound, dropping bricks from about 1 meter to see if they remain intact, checking for cracks, shape, and size, and finally, the water absorption test. If your bricks are not baked correctly, they remain porous and can sustain water damage in the long run. Cellular Lightweight Concrete blocks (CLC), commonly called Cipralex blocks, can reduce weight when building internal walls. This saves you construction time and money as you can get larger sizes than regular red brick sizes. Another point to consider is planning concealed piping for plumbing and electrical work. But, again, do this in advance to avoid post-construction damage. Finally, when constructing a wall, remember while the wall can be as long as you like, you should not build over 1 meter in height per day.
Curing | Plastering | Lighting
Understanding which steps are crucial to the process of getting your dream home done right is essential. This is especially so in the following cases.
Curing time - Curing refers to the process of maintaining moisture in the concrete. This allows the concrete to harden and achieve maximum strength. As concrete begins to dry quickly after casting, curing should start within 12 – 15 hrs of casting completion or start sprinkling on touch down casting surface and last for 21 days. It helps you get the best results, especially for the surfaces exposed to the elements.
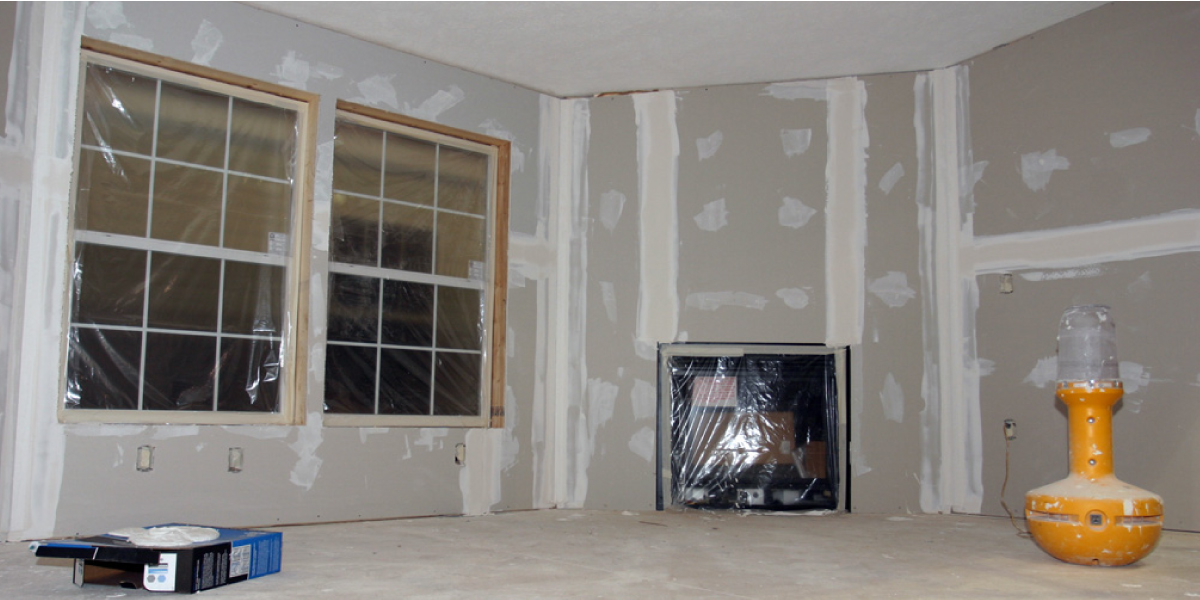
Plastering - The right plastering protects the exposed surfaces and masonry joints from the ravages of the environment. It also gives your walls better stability by binding bricks and stones together. The curing period is also required here, ensuring a minimum thickness of 15 to 20 mm.
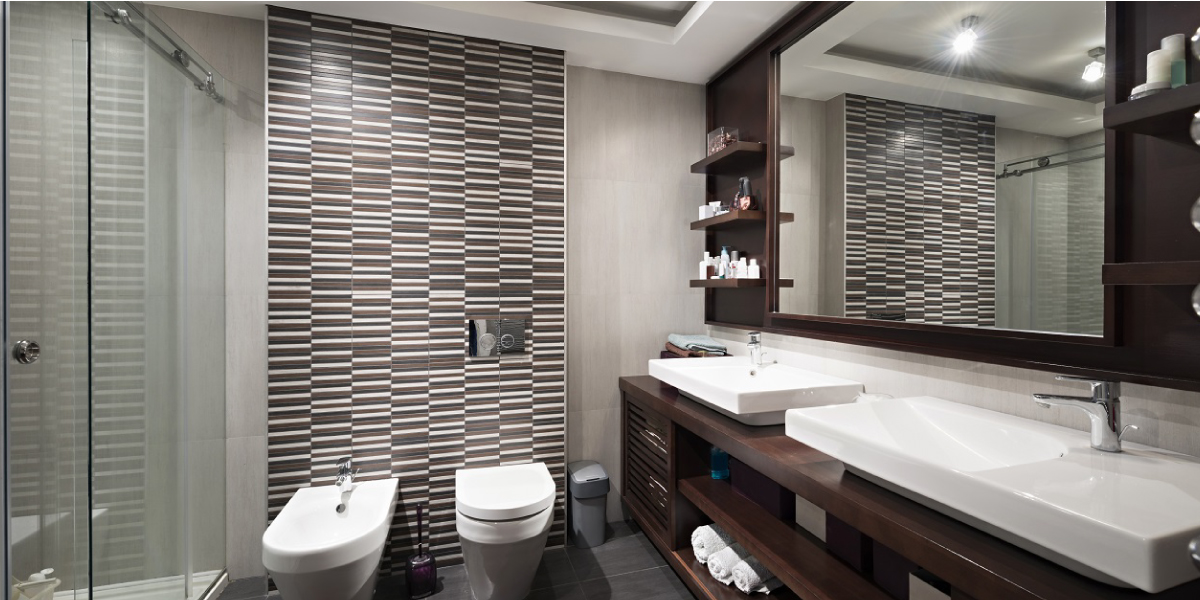
Lighting - Take your time thinking about electrical and lighting elements around your house. Consider what you will use each space for and make sure the lighting is even across that space. Consider staying away from trends and putting your primary lighting on the ceiling, not the walls. This helps you avoid shadows and allows you to plan statement wall lighting tastefully.